Welcome to Produce8! Follow these simple steps to create your account and set up for success.
Table of Contents
Step 1: Create Your Account
Instructions
- Navigate to our Sign Up page to create your account.
- Enter your Full Name, Work Email, and choose a Password (stronger is always better).
Note that you'll need to use your work email to create your account as you won't be able to create a new account connected to a personal email domain like outlook.com, gmail.com, yahoo.com, etc.
- Save your credentials to your Password Manager of choice.
- Check the email address that you used in step 2 for an email from no-reply@produce8.com, subject: Verify Email Address. It might take a few moments to arrive.
- Enter your Verification Code to finish creating your account.
Next, you'll be directed to our Onboarding Wizard where you'll be welcomed enthusiastically and then prompted to install our Extensions.
If you don't see the email, then check your Spam folder. If it's still not there, then you may need to add the produce8.com domain to a whitelist in your email settings. Once you do that, click Resend Confirmation Code from the Verify Your Account page.
Step 2: Pick Your Plan
Instructions
- Choose a plan that best suits your needs.
- If none of the standard plans suit your needs or you have unique requirements, select Contact Sales to discuss personalized options.
- Select Get Pro to proceed with upgrading your account.
- Use the - or + to choose the number of Users.
- Review the Billing Summary (pre-tax) and select Purchase Plan.
- If you have a coupon code, click Apply Coupon, then enter the code, click → , and review the discount inclusive (but pre-tax) monthly subscription cost.
- Select Proceed to Checkout.
- Add the name and billing address exactly as they appear on the credit card that you'll be using to pay for your subscription, then click Next. (Note that this address is also used to determine the taxes that will be applied at checkout.)
- Enter the rest of your credit card details.
- Finally, review your upgrade and click Pay & Subscribe.
Step 3: Choose Your Setup
Choose one of the following options to get started. You can start the setup on your own or select an alternative that best suits your needs.
Option 1. I’ll do the setup. Let’s go!
If you prefer a hands-on approach, follow these steps to set up your account:
- Choose User Opt-In Settings:
- Automatically Follow Apps: Users are automatically opted in to all existing and newly added apps in the account - no manual approval needed.
- Require User Opt In: Users must manually opt in to follow apps. When a new app is added, it will appear in a pending state until the user approves it.

💡 This setting can be changed anytime in Account Settings.
- Follow Your Apps:
- Produce8 provides a catalog of the most commonly used work apps that you can connect to right away.
- Select Follow on the apps you want to enable for your account.

- Install the Extensions:
- Follow the prompts to install the Desktop and Browser Extensions to start receiving activities from your subscribed work apps.
- You'll need to complete this step to view your activities on your Timeline.
- Explore your Workspace!
- Once setup is complete, you are start using Produce8 right away.
Additional Resources
Option 2. Book an Onboarding Session
- If you’d like assistance from our experts, follow these steps to schedule an onboarding session:
- Choose a time slot that works best for you from the calendar.
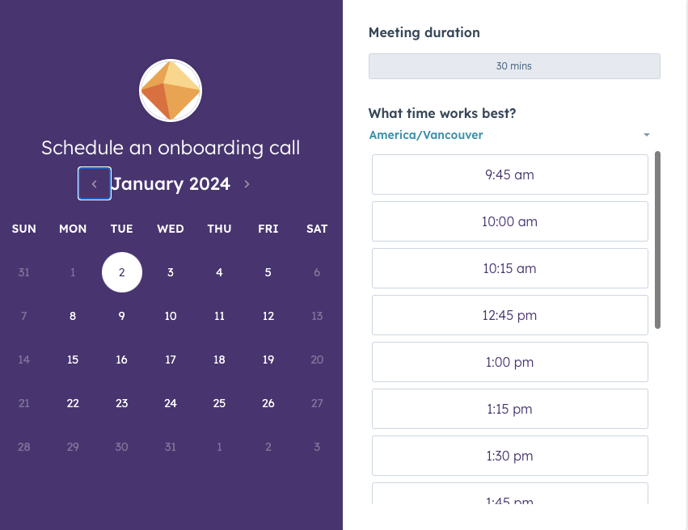
- Fill in your information and select confirm.
Option 3. Someone else will do the setup
- If another team member will handle the set up, here’s what you need to do:
Invite an Administrator to set up your account. Enter their email address and select Send Invitation Email and we’ll prompt them to finish setting up your account.
Option 4. I’ll do it later
- If you'd prefer to finish the setup another time, here's what you should keep in mind:
When you log in next, you will be redirected to your next step in onboarding, which will be Follow Your Apps.
What's Next?
Your account is now ready! You're all set to start exploring insights maximizing the benefits of Produce8.